

How do you upload your customs declarations?
The declaration list your customs broker gives you is enough: a CSV or Excel file. You match the file's columns once, and Eximcast checks the file before it writes anything. No file? In the same step, press “Enter items by hand” to type your items one by one.
- Press “Choose a file” and pick your file. You see its first rows on screen.
- Under “Which column holds what”, check the column next to each field. We fill these in from the column headings; if one is wrong, pick the right one from the list.
- If a field says “Not in the file” with a value in brackets, that value is used. For example, “Not in the file (TR)” means the destination of import lines is Türkiye.
- Press “Check the file”. If all is well, a button to import the rows appears.
- If there is a problem, the message says what to add. Fix the file and choose it again, or match the right column.
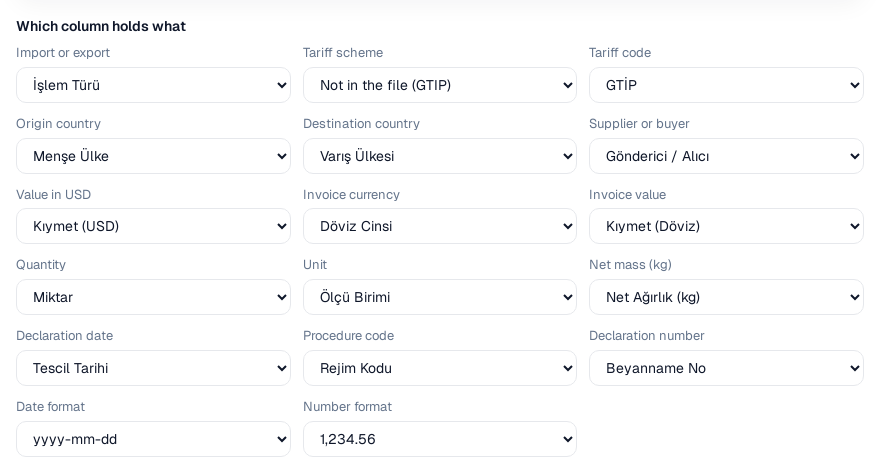

If the file has only a USD value, the currency is taken as USD. If it has only the invoice amount and its currency, we work out the USD value at the exchange rate of the declaration date.